It’s summertime and the food freezing is easy. Here’s how
By Susan Puckett, CNN
Whether you’re a home gardener, a CSA-er or a farmers’ market regular, it’s easy to wind up with more irresistibly pristine, fresh-picked produce than your household can possibly consume in its peak state of ripeness.
Avid home canners and fermenting enthusiasts are well equipped to handle this seasonal abundance. But for the rest of us, we can take comfort knowing there’s a much faster and easier way. All we need is freezer space, sturdy containers, and basic know-how for maximizing our bounty to the fullest.
It’s true that some fruits and vegetables freeze better than others. Water particles expand as they turn to ice, breaking down the cell walls that give fruits and vegetables their structure and crunch. But that’s not necessarily an issue, depending on how you plan to use them. Even that extra half of a watermelon you couldn’t finish eating can be cut up, frozen, and later pureed in gazpacho or a smoothie.
On the other hand, dense frozen vegetables such as carrots, green beans or corn may be virtually indistinguishable from fresh when added to a soup or a stew.
Here are some guidelines to help you bring fresh summer flavor to your meals all year long.
Choose high-quality produce at its peak of flavor. Make sure it’s free of bruises and soft spots. Fruit should be fully ripe but still firm, and vegetables tender and young. Don’t wait until the produce is about to spoil to freeze it, and don’t expect it to continue ripening once it’s thawed. To retain the freshest flavor and maximum nutrients, freeze your produce as soon as possible after harvest or at peak ripeness for fruit, and immediately after prepping. Rinse and drain the produce well, without allowing it to soak, and pat it dry before proceeding.
Freeze produce as quickly as possible. The faster it freezes, the more of its natural texture and flavor you’ll retain. Make sure your freezer is set at zero degrees Fahrenheit (-17.78 degrees Celsius) or colder and consider how much space you have to work with. Overcrowding the freezer could cause the temperature to rise, so before you begin, ditch those unidentifiable ice blobs with zero chance of ever getting eaten.
When and how to blanch. Most vegetables benefit from a quick plunge in boiling water, followed by a dip in an ice-water bath to stop the cooking. Blanching slows the enzymes that cause texture, flavor, color and nutrients to deteriorate. It also loosens the skins of whole tomatoes and peaches so they’re easier to peel. (Cut an X in the bottom of each first.) Blanching times vary depending on the size and density of the produce, and it’s important to get it right. The University of Minnesota Extension has a handy chart of vegetables to set your timer accordingly.
How to keep colors vibrant without heat. Many fruits can be frozen raw. But some — such as peaches, apples and pears — are prone to turning brown after slicing when exposed to air. Tossing them in a little lemon juice or ascorbic acid (such as Fruit-Fresh) keeps the colors bright.
Add some sweetness. Though not essential, sugar can help fruit maintain its texture and flavor for extended time in the freezer. Add the fruit to the container in layers, sprinkling a little sugar in between each layer, and let stand for about 15 minutes before sealing. Or cover with a sugar syrup.
Employ your cookie sheets. Placing small whole berries, cubed or sliced fruit or blanched vegetables in a single layer on a parchment-lined cookie sheet is a great way to speed the freezing process, while preserving their shape and keeping them from clumping together. If you have more than one cookie sheet to fill, place another sheet of parchment on top of the produce and stack them. Once frozen solid, remove them with a spatula and transfer to freezer bags or airtight containers.
Portion control. Measure out portions depending on how you plan to use them (as part of a specific recipe such as a pie filling or as individual or family-sized side dishes). Bear in mind that the larger the portion, the longer it will take to thaw and cook.
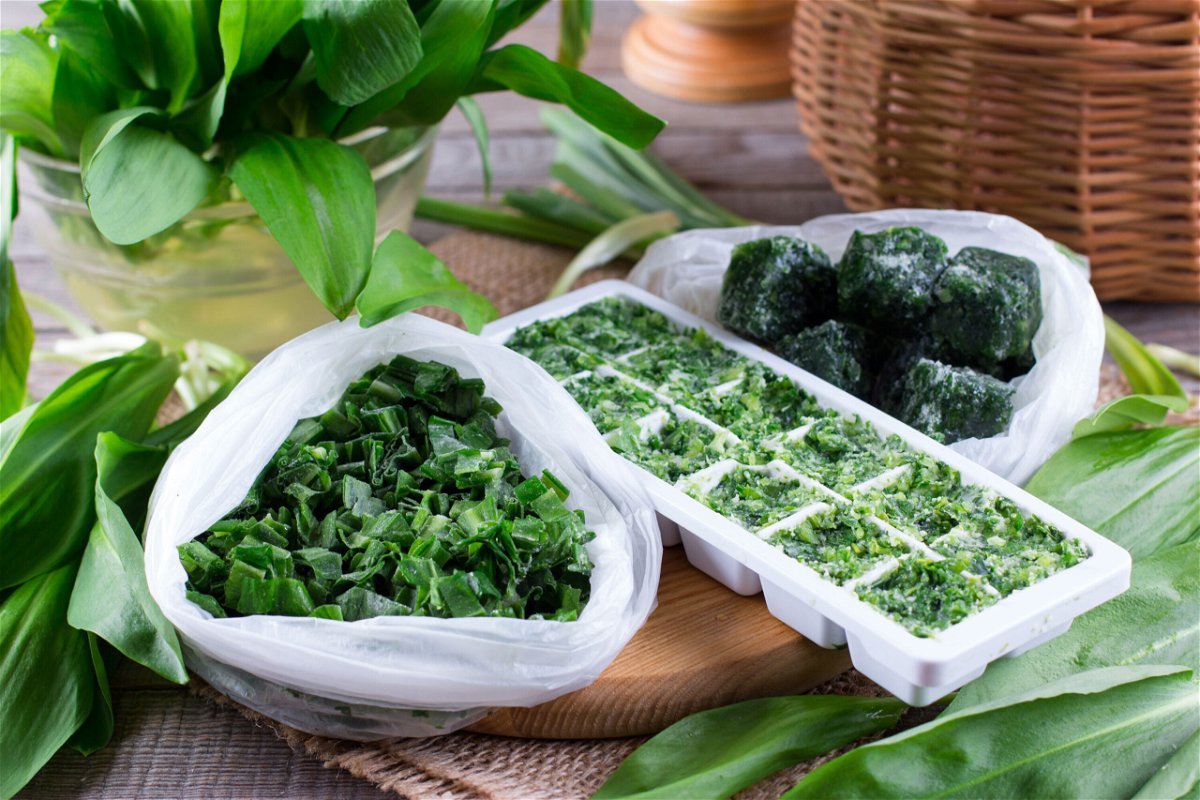
Freezing herbs. Fresh herbs on the stem — or just the leaves — can be spread on a cookie sheet and frozen before packing in freezer bags. You can also pack the leaves in ice cube trays and cover with water or olive oil. Once frozen, pack the cubes into freezer bags and remove only what you need. Or blend the herbs into pesto and freeze the same way.
Proper packaging is critical. Exposure to air is the enemy of frozen food. Heavy-duty zip-top freezer bags specially formulated to prevent freezer burn do an excellent job and are convenient and space-efficient. Vacuum sealers that remove air before the pouches are sealed are great if you have one. If not, you can go low-tech by placing a straw in one corner and sucking out the air before sealing. Or simply press the air out with your hands. Rigid plastic containers with tight-fitting lids or glass canning jars approved for freezing also work well. Fill the containers nearly to the top, allowing a half-inch or so of headroom for expansion but avoiding excess airspace. Packing too tightly in glass containers could cause them to break.
Label your packages. Clearly write with a Sharpie the name of the item, amount of the contents and the date it was packaged.
To thaw or not to thaw?
It’s generally preferable not to thaw fruits or vegetables before using them in most recipes. It’s better to allow them to thaw during the cooking process. They’ll be less likely to overcook and turn to mush, particularly in a soup or stew. Veggies can also go straight from freezer to microwave — no extra liquid needed. There are exceptions, such as spinach that needs to be thoroughly drained before blending into a dip. Berries and other fruit should also be left in the freezer until right before using. Coat the fruit lightly with flour before adding to muffin or cake batters to keep them from sinking. Add a little extra thickener to a pie filling to avoid runniness. And figure on increasing the baking time by 5 minutes or so.
Even simpler: Toss a handful of frozen berries or sliced fruit into a bowl, add a dollop of Greek yogurt, and top with a squeeze of honey and a sprinkle of nuts. It’s a refreshingly healthy way to start your day with a taste of summer no matter what the season.
The-CNN-Wire
™ & © 2021 Cable News Network, Inc., a WarnerMedia Company. All rights reserved.
Susan Puckett is the former food editor of the Atlanta Journal-Constitution and the author of “Eat Drink Delta: A Hungry Traveler’s Journey Through the Soul of the South.”